As with every spring I've known growing up in Montana, this year is turning out to be an extremely soggy one. We have certainly been blessed with nice weather here and there. The start of our project on the new property was blessed with gorgeous weather and surprisingly warm temperatures in May. The first week in June, however, has brought us plenty of rain and cool temperatures dipping into the 40s. While I wouldn't say that we are behind in our progress with getting our yurt erect, we were optimistically hoping we would be further along in the project than where we currently are. We have made the best of our time, and the weather, by taking care of some small repairs and preparations so that when Mother Nature decides we are sufficiently refreshed, we can get with the program.
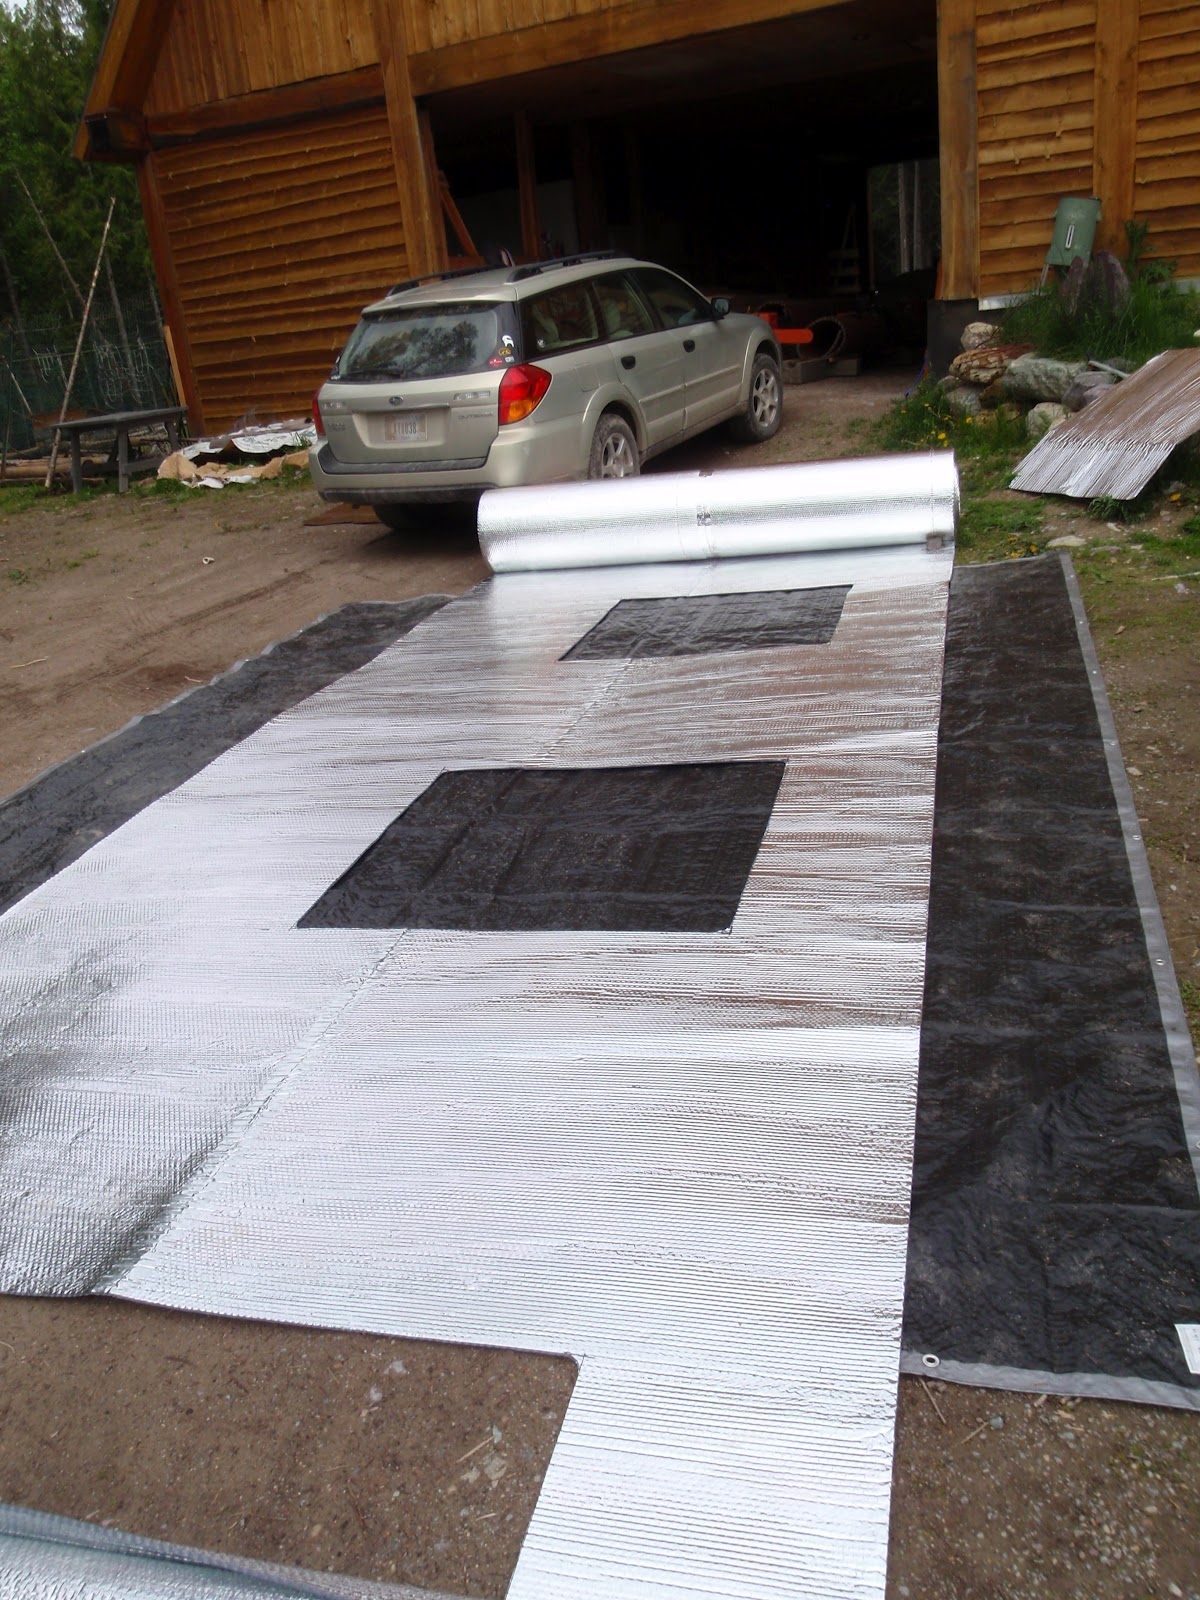
Our first order of business, was to get our insulation ready for the walls of the yurt. In our yurts former life it had wool insulation for the walls and ceiling. As I've mentioned before, there was some water damage to the insulation, causing irreparable damage to the wool, but leaving the other key elements salvageable or untouched altogether. Looking for an affordable alternative to replacing the insulation, we found that you can find heavy duty Mylar bubble wrap reflective insulation online, or at your local building supply. When researching yurts, we found that most companies use the same insulation, and can ship you sheets that fit your size yurt, for a hefty price. We decided to go the cheaper route, and with Tanner's engineering brain to calculate measurements, and my sewing pattern experience, we could easily cut the insulation to custom-fit our yurt walls.
 |
| One half of our yurt siding |
 |
| Tanner measuring the windows |
 |
| Windows Cut |
 |
| Matching insulation to the walls |
 |
| It fits! |
Once we knew we didn't mess up the first panel, all we had to do was trace the windows onto the additional panels.
 |
| Tracing windows onto new panels |
|
|
Our plan for this insulating option is to have two layers of insulation in the walls, and two layers on the ceiling with one wool layer in between (which was saved from the mold damage). Reflective Insulation works in three ways: By radiation, from a warm surface to a cooler surface through an air space; By conduction through solid or fluid materials; By convection, which involves the physical movement of air. The idea is, all of the heat coming from our toasty wood stove will reflect off the walls and ceiling to create a nice little haven from the cold of a Montana winter.
Once all of the windows were cut from the insulation, we decided to spiff up the doors, which also had their share of damage from snow and water. We had scrubbed all dirt and mold from them with bleach water, so the parts that needed fresh stain got a dose from this stuff:
 |
| Superdeck is what Colorado Yurt Co. recommends and uses for their wood components on their yurts |
 |
| Windows taped, like a bunch of amateurs, and ready for stain |
 |
| Looking parched |
 |
| Fresh stain |
 |
| Back to life |
We continued using the Superdeck on the posts used for the yurt platform.
 |
| Posts for yurt platform |
With all of these details ready to go, we are hoping progress will be easier once we are ready.
To learn more about Reflective Insulation go to:
Innovative Energy, Inc
To learn more about Colorado Yurt Insulation Packages go to:
CO Yurt Insulation


No comments:
Post a Comment